


.png?x-oss-process=image/resize,h_100,m_lfit/format,webp)
.png?x-oss-process=image/resize,h_100,m_lfit/format,webp)
.png?x-oss-process=image/resize,h_100,m_lfit/format,webp)

You know what happens when a brake rotor isn’t installed correctly? Not just noise or vibration — but potential failure. In commercial fleets, this can mean downtime, safety risks, and costly replacements. According to data from the North American Trucking Association (NATA), over 43% of premature brake system failures are linked to improper installation practices — not part of the design or material quality.
Let’s be honest: even experienced technicians fall into these traps:
It’s not just about tightening bolts — it’s about consistency in flatness and thickness. Our internal tests show that rotors installed with misaligned positioning holes can vary by up to 0.05 mm in thickness across their surface. That may sound small — until you realize it causes uneven pad contact, increased heat buildup, and eventually, reduced braking performance.
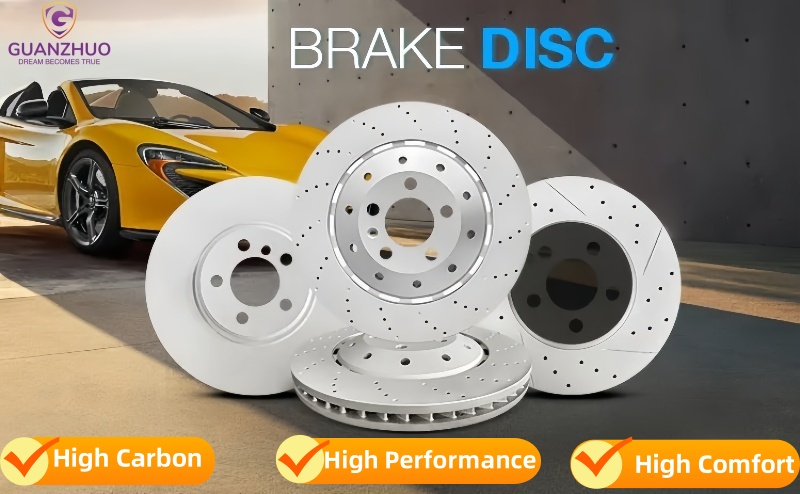
We use IATF TS16949-certified materials and CNC-controlled grinding processes to ensure each rotor meets ISO 10757 standards for flatness tolerance (±0.02 mm). But if your team doesn’t install them properly, those specs go to waste.
These steps aren’t optional — they’re essential for maximizing rotor life and ensuring passenger safety. One fleet manager we worked with saw a 60% drop in brake-related service calls within three months after implementing this process.
Don’t rely on guesswork. Equip your shop with:
What’s your biggest challenge when installing brake rotors? Have you ever had a case where poor installation led to a serious issue?
Share your story below — let’s build a community of safer, smarter workshops.
 401
|
401
|
 brake pad heat fatigue detection
brake pad replacement interval
truck braking distance optimization
long-haul vehicle safety
brake wear indicator recognition
168
|
high carbon steel brake disc
wear-resistant brake disc
commercial vehicle brake upgrade
corrosion-resistant brake components
global compatible brake disc
399
|
brake disc maintenance
brake disc wear
brake pad compatibility
brake disc polishing risks
brake system safety
456
|
IATF TS16949 brake hub certification
automotive supplier audit checklist
supply chain quality control
automotive parts manufacturing quality
brake hub procurement strategy
47
|
brake disc compatibility
high-precision locating hole design
R90 E-mark certification
OEM brake disc customization
brake system interface standardization
brake pad heat fatigue detection
brake pad replacement interval
truck braking distance optimization
long-haul vehicle safety
brake wear indicator recognition
168
|
high carbon steel brake disc
wear-resistant brake disc
commercial vehicle brake upgrade
corrosion-resistant brake components
global compatible brake disc
399
|
brake disc maintenance
brake disc wear
brake pad compatibility
brake disc polishing risks
brake system safety
456
|
IATF TS16949 brake hub certification
automotive supplier audit checklist
supply chain quality control
automotive parts manufacturing quality
brake hub procurement strategy
47
|
brake disc compatibility
high-precision locating hole design
R90 E-mark certification
OEM brake disc customization
brake system interface standardization


